Deploy a TS server/client using Cloud Run and Cloudflare
No BS. The sauce.
Reference: My package.json scripts
"scripts": {
    "dev": "nodemon --watch 'src/**/*.ts' --exec 'node --loader ts-node/esm' src/index.ts",
    "start": "node --loader ts-node/esm ./src/index.ts"
 }
Step 1: Confirm you’re logged in to Google from your browser.
Step 2: Make sure` gcloud` CLI is installed
brew:
brew install google-cloud-sdk --caskscoop
scoop bucket add extras
scoop install extras/gcloud
Step 3: Login with gcloud CLI
gcloud auth loginNavigate to the given URL and login with your Google Account
Note: find all your projectIDs here, top left corner, to the right of the logo: https://console.cloud.google.com/welcome
Step 4: navigate to your project locally
cd path/to/projectStep 5: tsconfig.json
You need rootDir and outDir . Other than that, do as you wish. Here is mine:
{
  "compilerOptions": {
    "target": "ES2022",
    "module": "ES2022",
    "rootDir": "./src",
    "moduleResolution": "node",
    "outDir": "./dist",
    "esModuleInterop": true,
    "forceConsistentCasingInFileNames": true,
    "strict": true,
    "skipLibCheck": true
  }
}
Step 6: Dockerfile
Customise it as you wish. Here is mine:
FROM node:20.5.1-alpine

WORKDIR /app

COPY package.json .

RUN npm install

COPY . .

run npx tsc

CMD node ./dist
Step 7: Launch
From your root project dir:
gcloud run deploy --platform managed --set-env-vars NODE_ENV=productionAfter that, configure your deployment settings as you wish. Here are mine:
Allow Unauthenticated Invocations: true
Data Center: lowa (number 30 on the list)
Step 8: Custom domain setup: GCP
head over to https://console.cloud.google.com/run/
click on your deployed app
go to Integrations
click Add Intgration
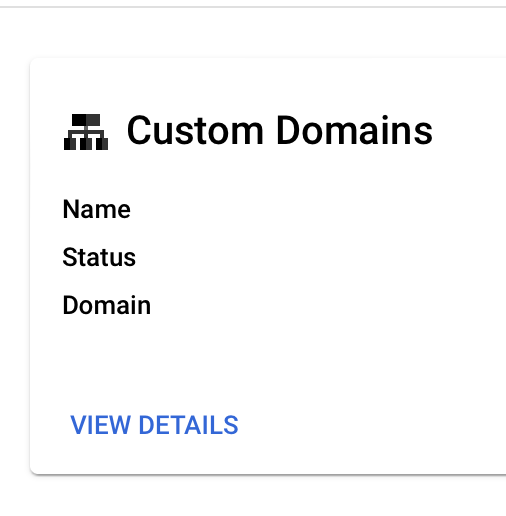
select Custom Domains — Google Cloud Load Balancing
under Routes replace Domain 1 with your custom domain eg. hello.example.com
scroll to page bottom and click Deploy .
Step 9: Get the Load Balancer IP
wait for 2–5 minutes
refresh the GCP page and click View Details on the integration.
scroll to the bottom
you should now see the details for an A DNS Record. copy the IP/ record value
Step 10: Cloudflare
head over to the Cloudflare Dashboard
login
go to your website
add a DNS record of type A and paste the IP of the Load Balancer you copied on step 9.
set the record type to proxied
You’re done. Now, wait for the Google CA to issue your SSL cert and you’ll be good to go!
— — — — — — — — — — — — — — — — — — — — — — — — — — — — — — — — — — — — —
Deleting the integration
GCP does not allow you to delete the integration (error, idk). Here is a bypass:
Method 1: delete the cloud run app
Method 2: delete all integration resources
head over to https://console.cloud.google.com/run/
click on your deployed app
go to Integrations
click View Details on the integration
scroll down to Resources
go one-by-one and delete everything
After you’re done, just delete the DNS record from Cloudflare and that's it!


